1. Create Your Project
Start by creating a new project in your workspace. Your project will serve as the container for all your patients, tasks, and configurations. We recommend creating projects for dev and prod environments at a minimal.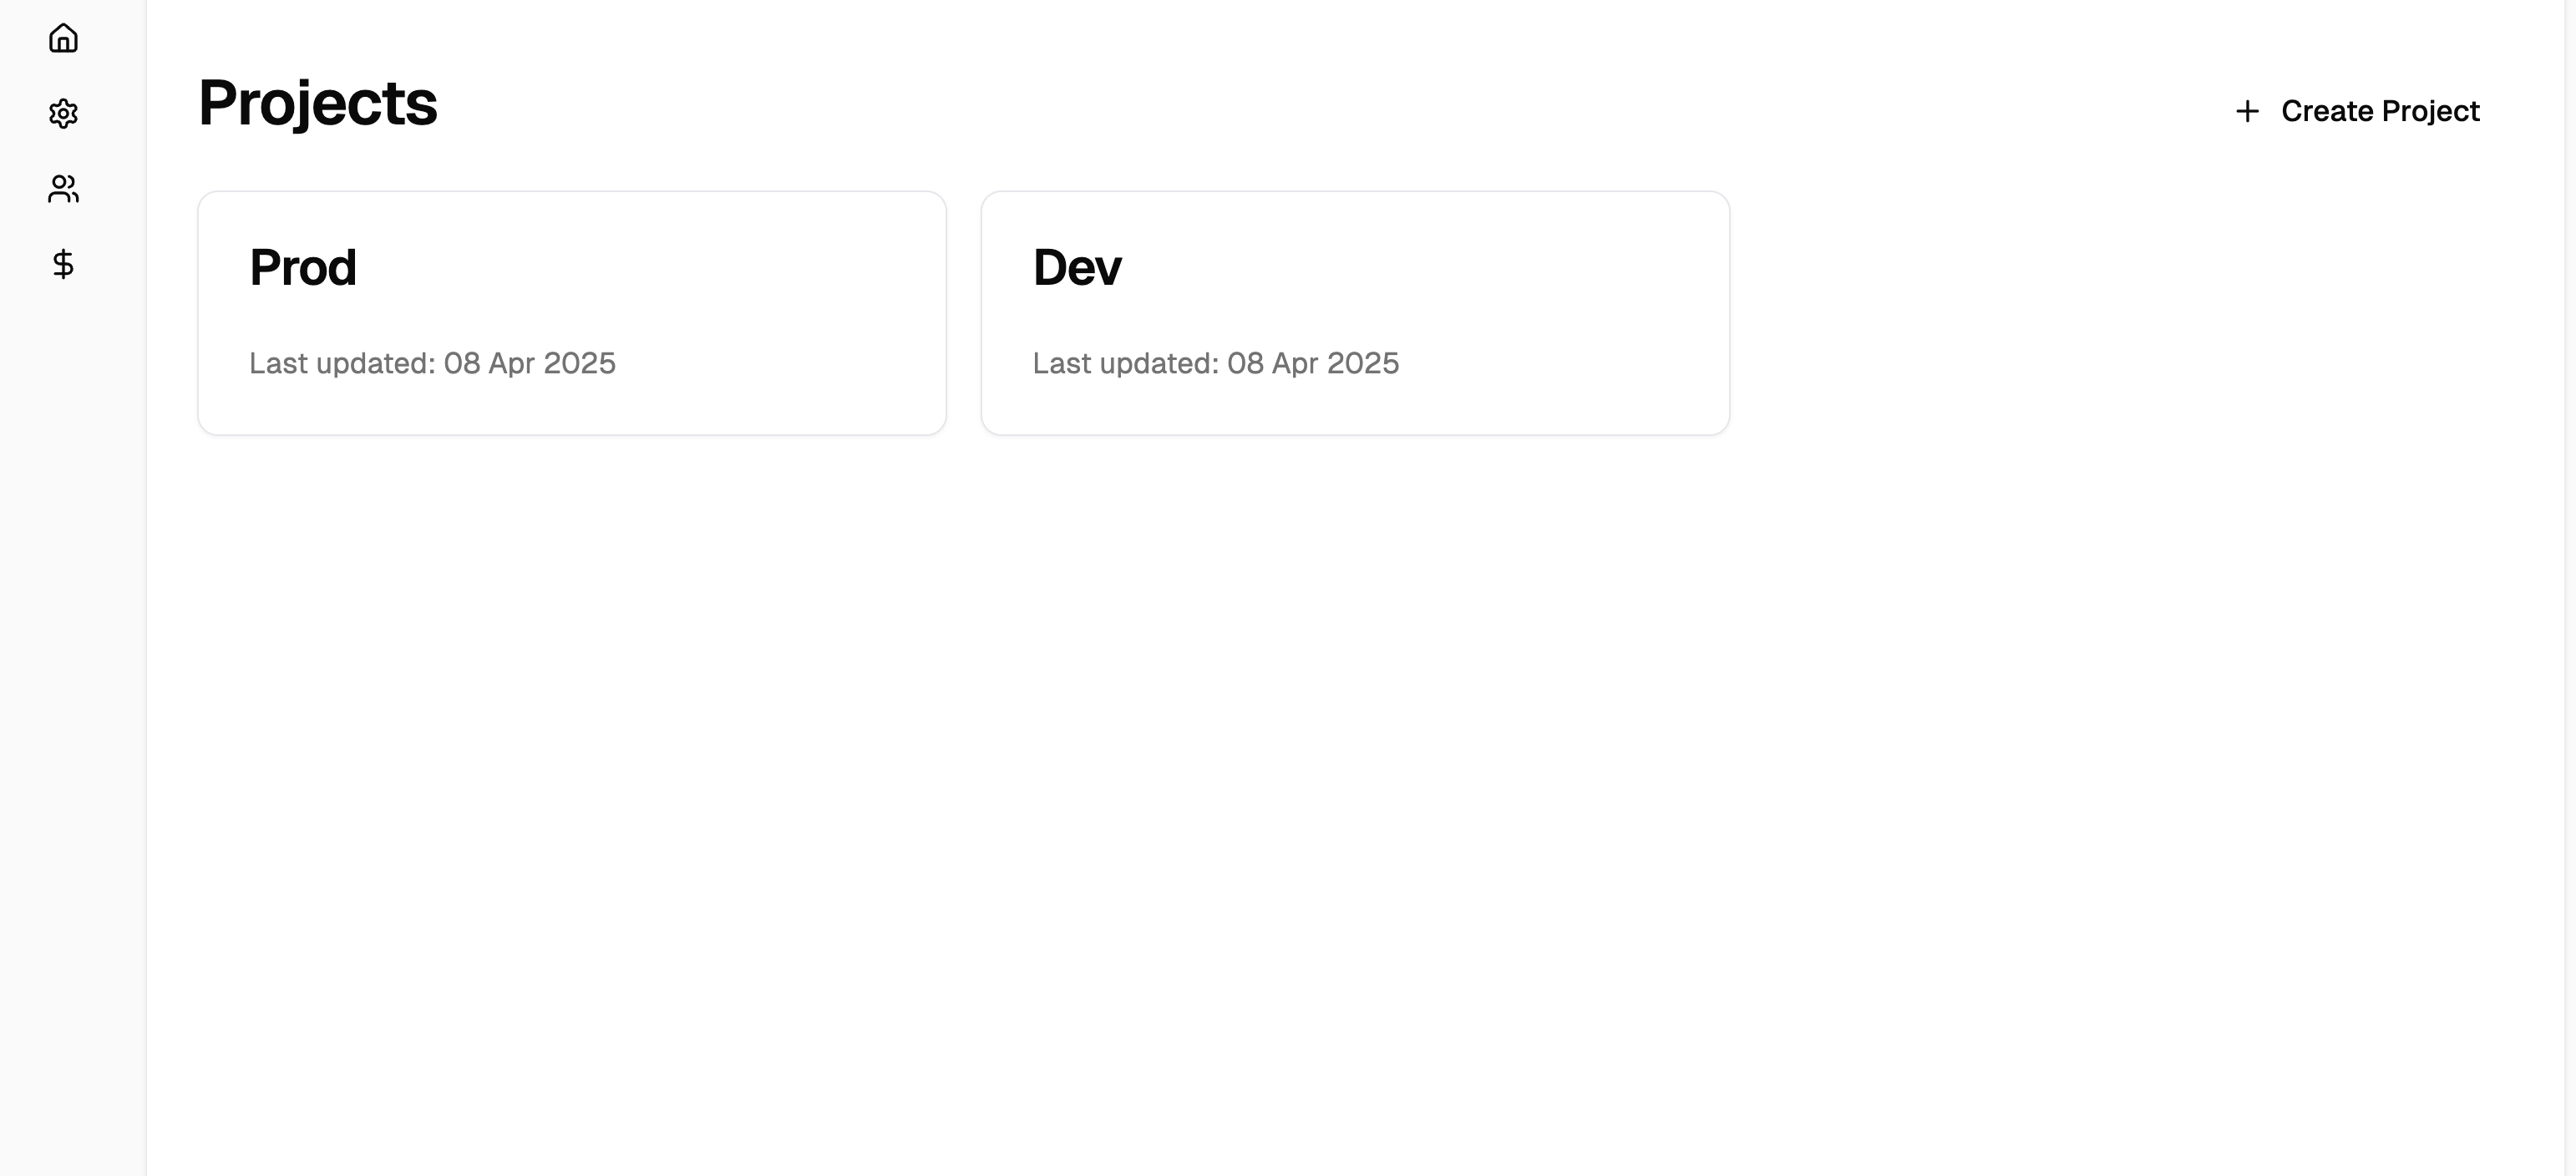
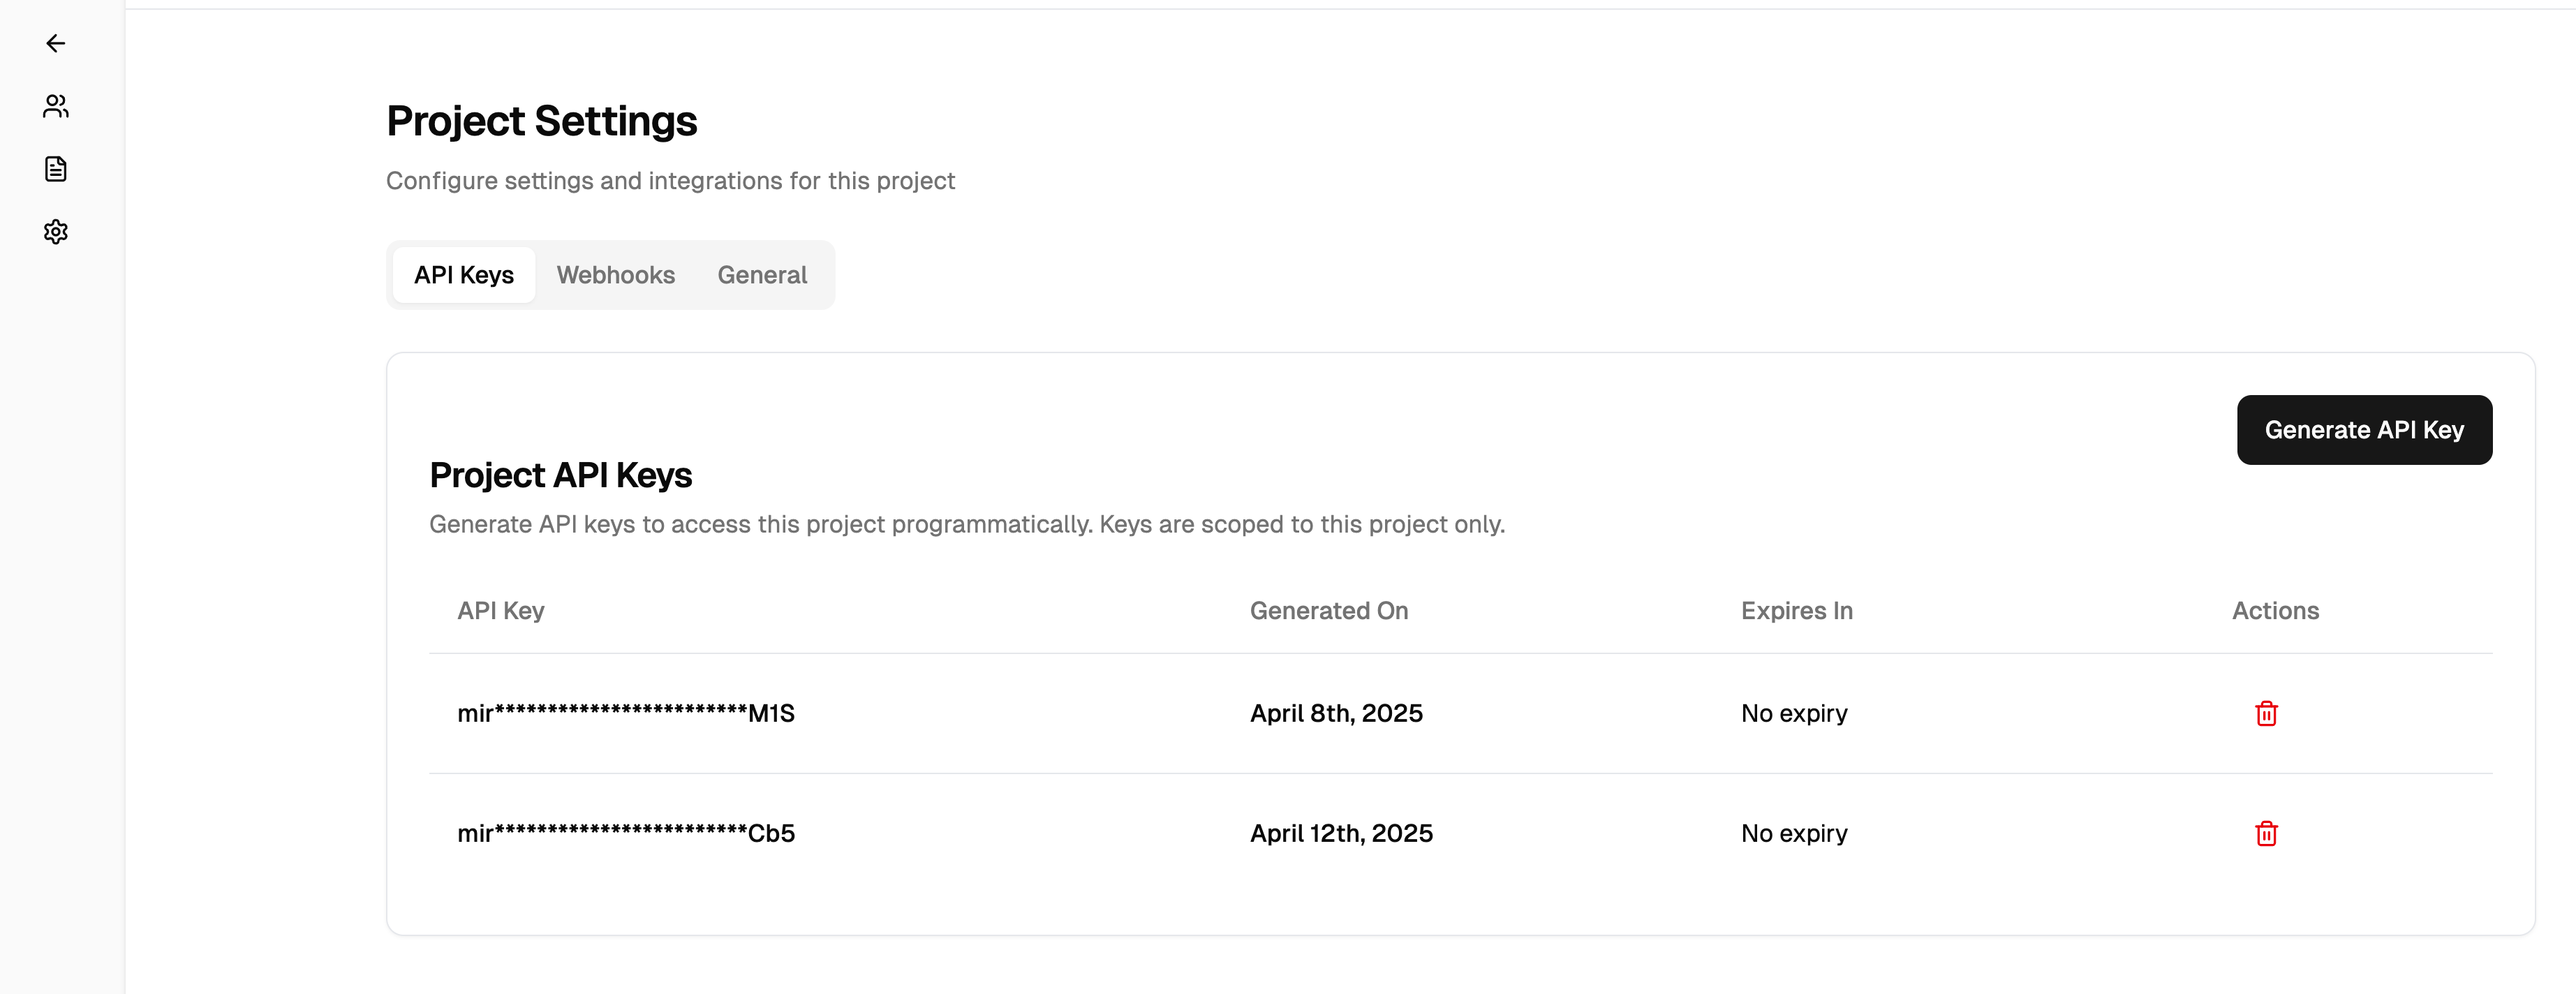
2. Set Up API Keys
Once your project is created, you’ll need an API key to make requests to Mira’s API. Generate your API key from the project settings:- Navigate to Project Settings > API Keys
- Click Generate New Key
- Copy and securely store your API key
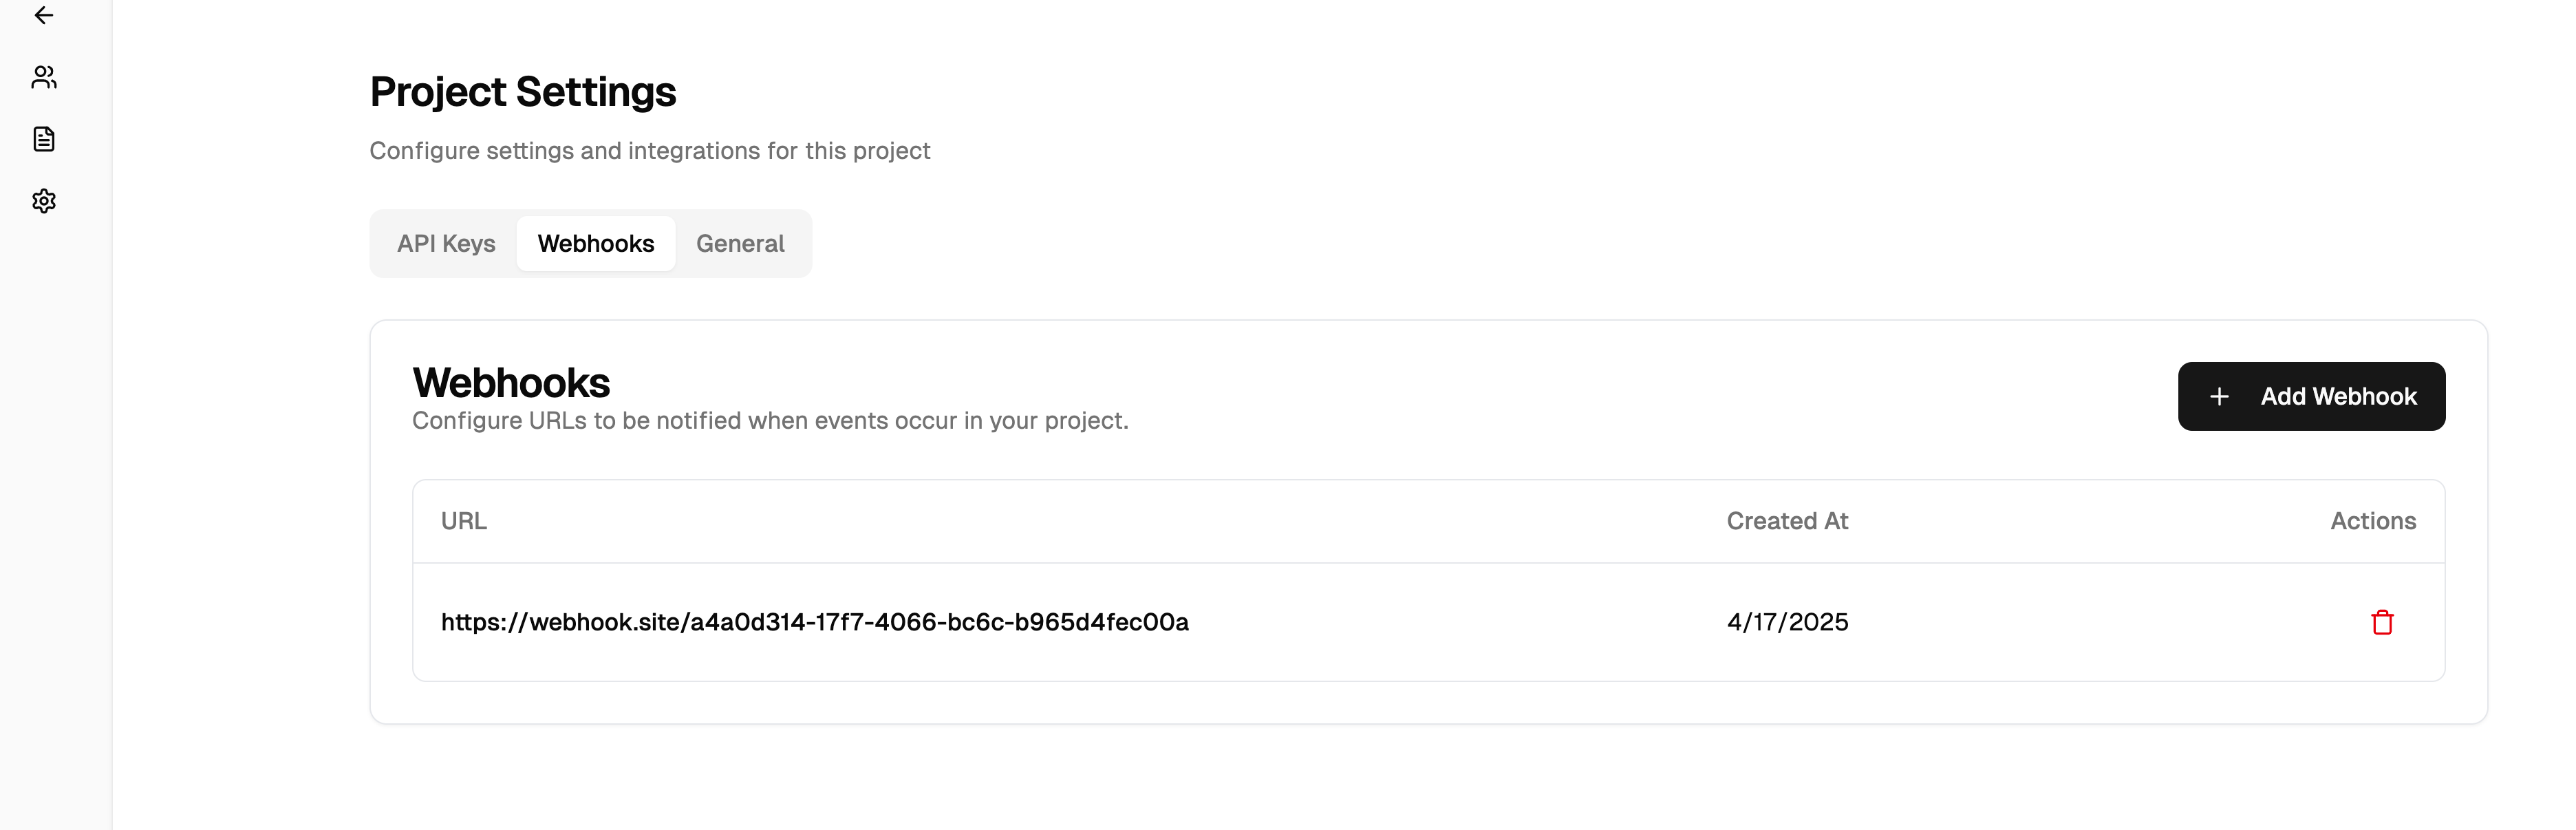
3. Configure Webhooks (Optional)
Mira uses webhooks to notify your application about new task updates. For example, when a call has been completed, you’ll receive a notification that allows you to fetch the latest task details, including transcripts and recordings.- Go to Project Settings > Webhooks
- Add your webhook endpoint URL
- Select the events you want to receive:
task.completed- When a task is finishedcall.completed- When a call has finished and recordings/transcripts are ready
task_id to fetch the complete task details, including transcripts and recordings, using the Get Task Progress endpoint.
4. Create Your First Task
Let’s create your first patient and task! Here’s a complete example of onboarding a patient and scheduling their first appointment:- Call the patient at the provided phone number
- Introduce herself and explain the purpose of the call
- Work with the patient to find a suitable appointment time
- Send you updates via webhooks as the task progresses
Watch your webhook endpoint for task updates, or use the Get Task endpoint to check the status at any time.